
- 1800 6129

Rope DIY projects offer a simple way to create useful items while adding natural texture to your living space. With rope, glue, wood and a few basic tools, you can make storage baskets, hanging shelves, plant holders and decorative accessories. Join SIAM Brothers Vietnam as we explore five easy rope DIY projects to try at home...
Before beginning a project, determine whether the finished item will be purely decorative or expected to support weight. For decorative items such as mirrors and small baskets, you can prioritise soft, flexible rope with a colour and texture that suit your interior.
For hanging shelves and plant holders, the rope, knots, hardware and anchoring point must be suitable for the total weight of the finished installation.
Basic materials and tools may include:
Decorative or utility rope
Scissors or a cutting knife
A hot glue gun and suitable adhesive
Measuring tape and marking pencil
Wood, mirrors, pots or shaping containers
Hooks, screws and mounting hardware when required
Do not assume that every rope is suitable for every project. Decorative rope may not have the strength required for load-bearing applications. Take care when using hot glue, drills and mounting hardware.
A rope storage basket is one of the most accessible rope DIY projects for beginners. The finished basket can hold towels, accessories and lightweight household items or serve as a decorative container in a bedroom or living room.
Begin by coiling the rope tightly from the centre outward to form a circular base. Secure each new coil to the previous one with adhesive. Once the base reaches the desired size, place a bowl, box or cylindrical container on top as a mould. Continue winding the rope upward around the mould to build the basket walls.
When the basket reaches the desired height, cut the rope and secure the end on the inside. Handles made from rope or leather can be added for decoration and easier carrying.
A basket assembled with glue should only hold lightweight, dry objects. If the basket needs to support heavier items, use stitching or another secure joining method instead of relying entirely on adhesive.
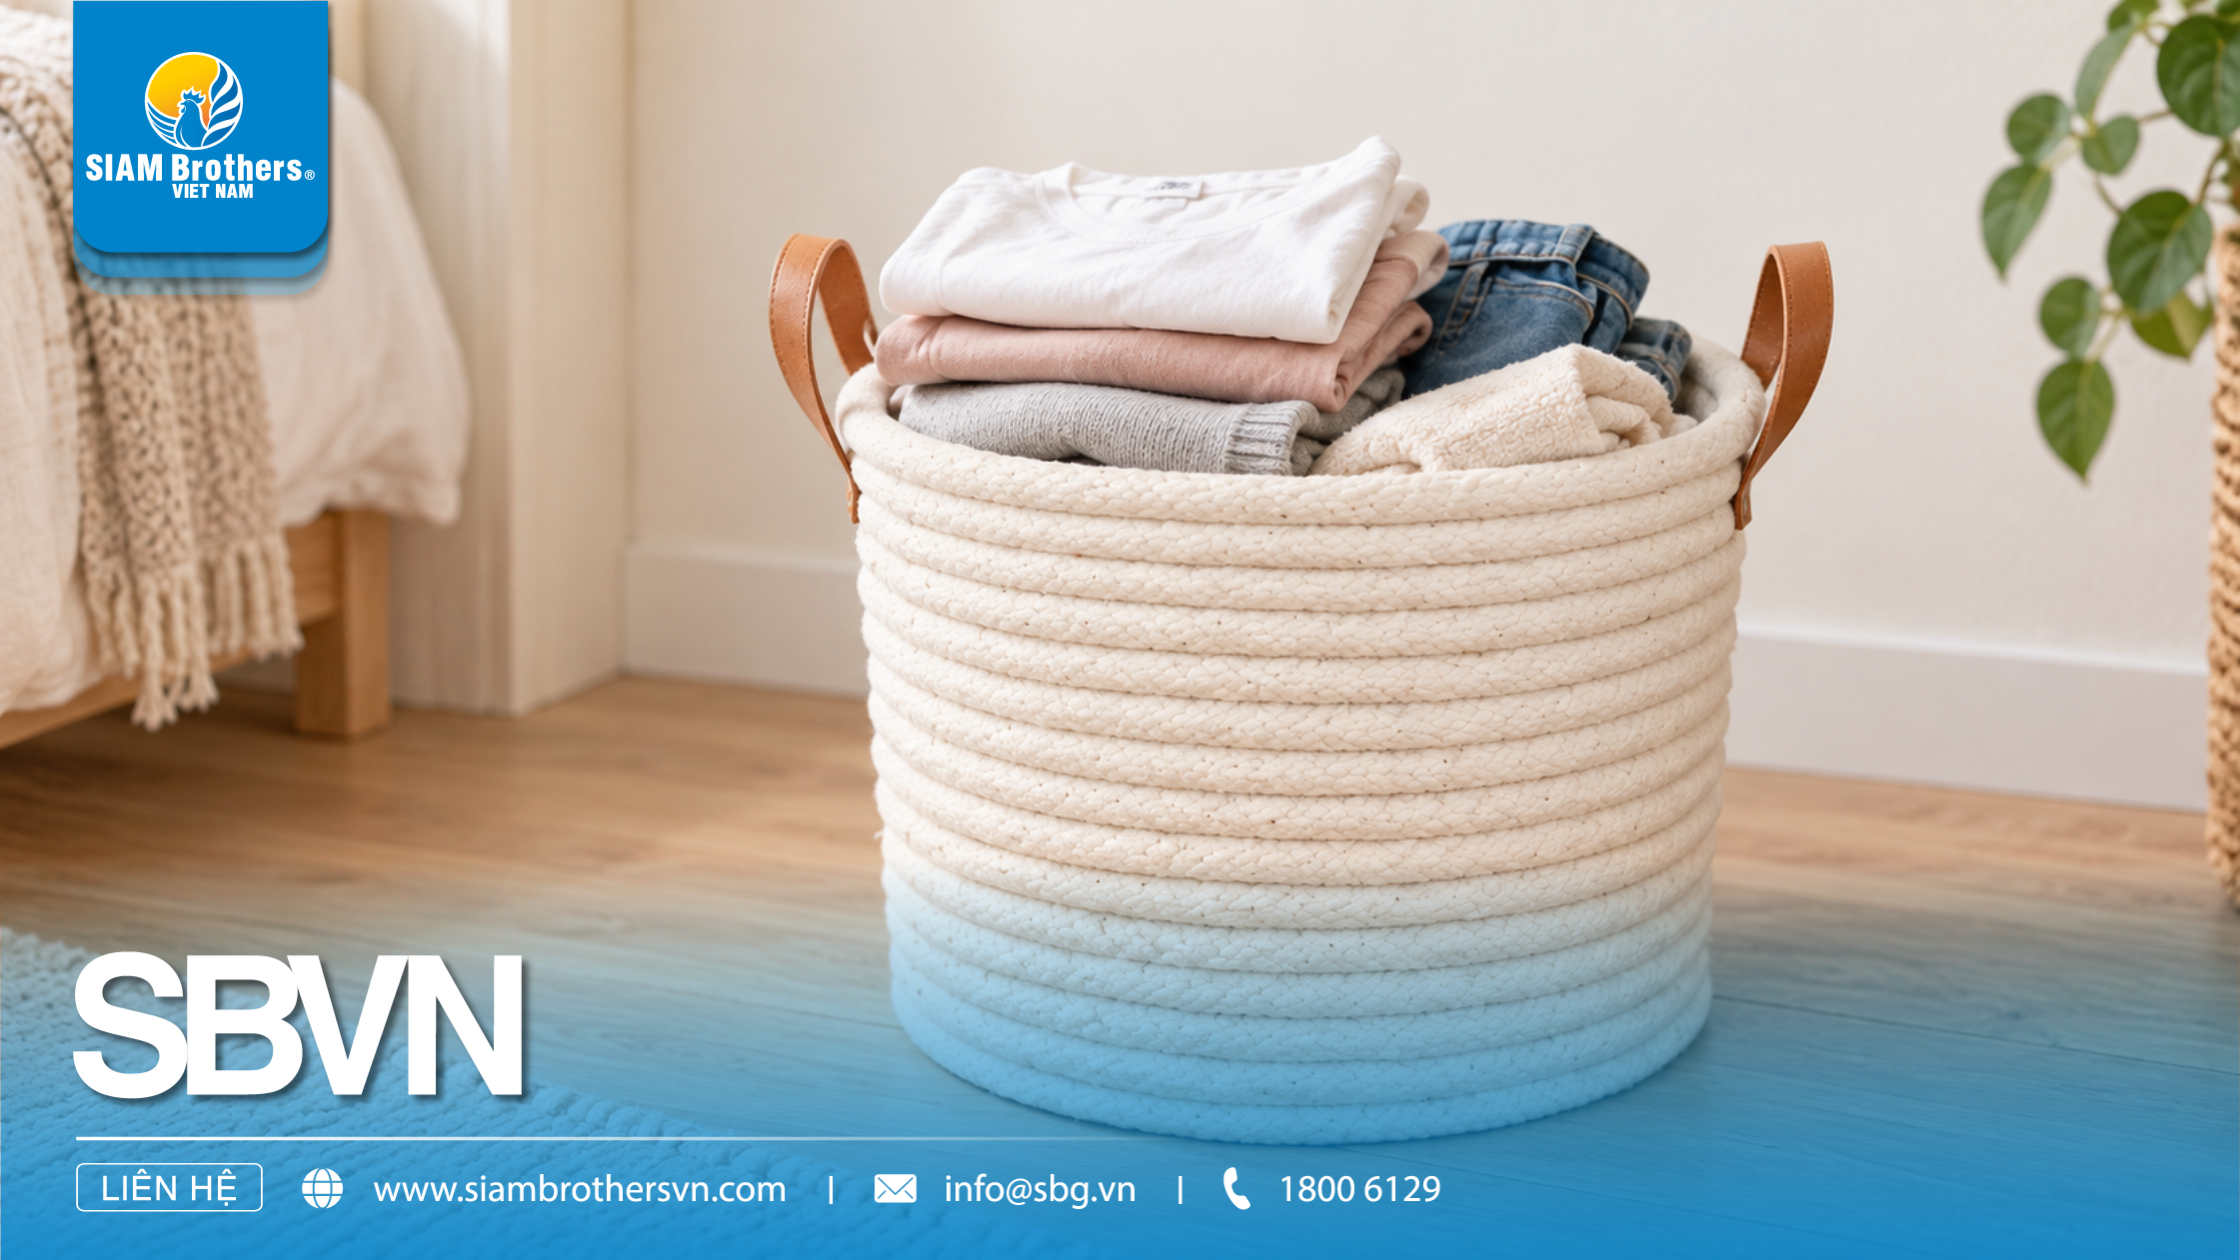
Rope DIY project for making a storage basket.
A shelf combining wood and rope works well with rustic, coastal and bohemian interiors. It can hold a small plant, a few lightweight books or decorative objects, provided the shelf is installed according to its expected load.
Prepare a smooth wooden board and drill holes near both ends. Thread the rope through the holes and tie secure knots underneath to support the board. The ropes on each side should be approximately equal in length so the shelf remains level.
The wall or ceiling anchor must be attached to a structurally suitable surface. Do not install the shelf on a decorative hook, thin plasterboard or another point with an unknown load capacity.
After installation, test the shelf gradually with lightweight objects and check its balance before adding more weight. Examine the knots, ropes and mounting hardware periodically.
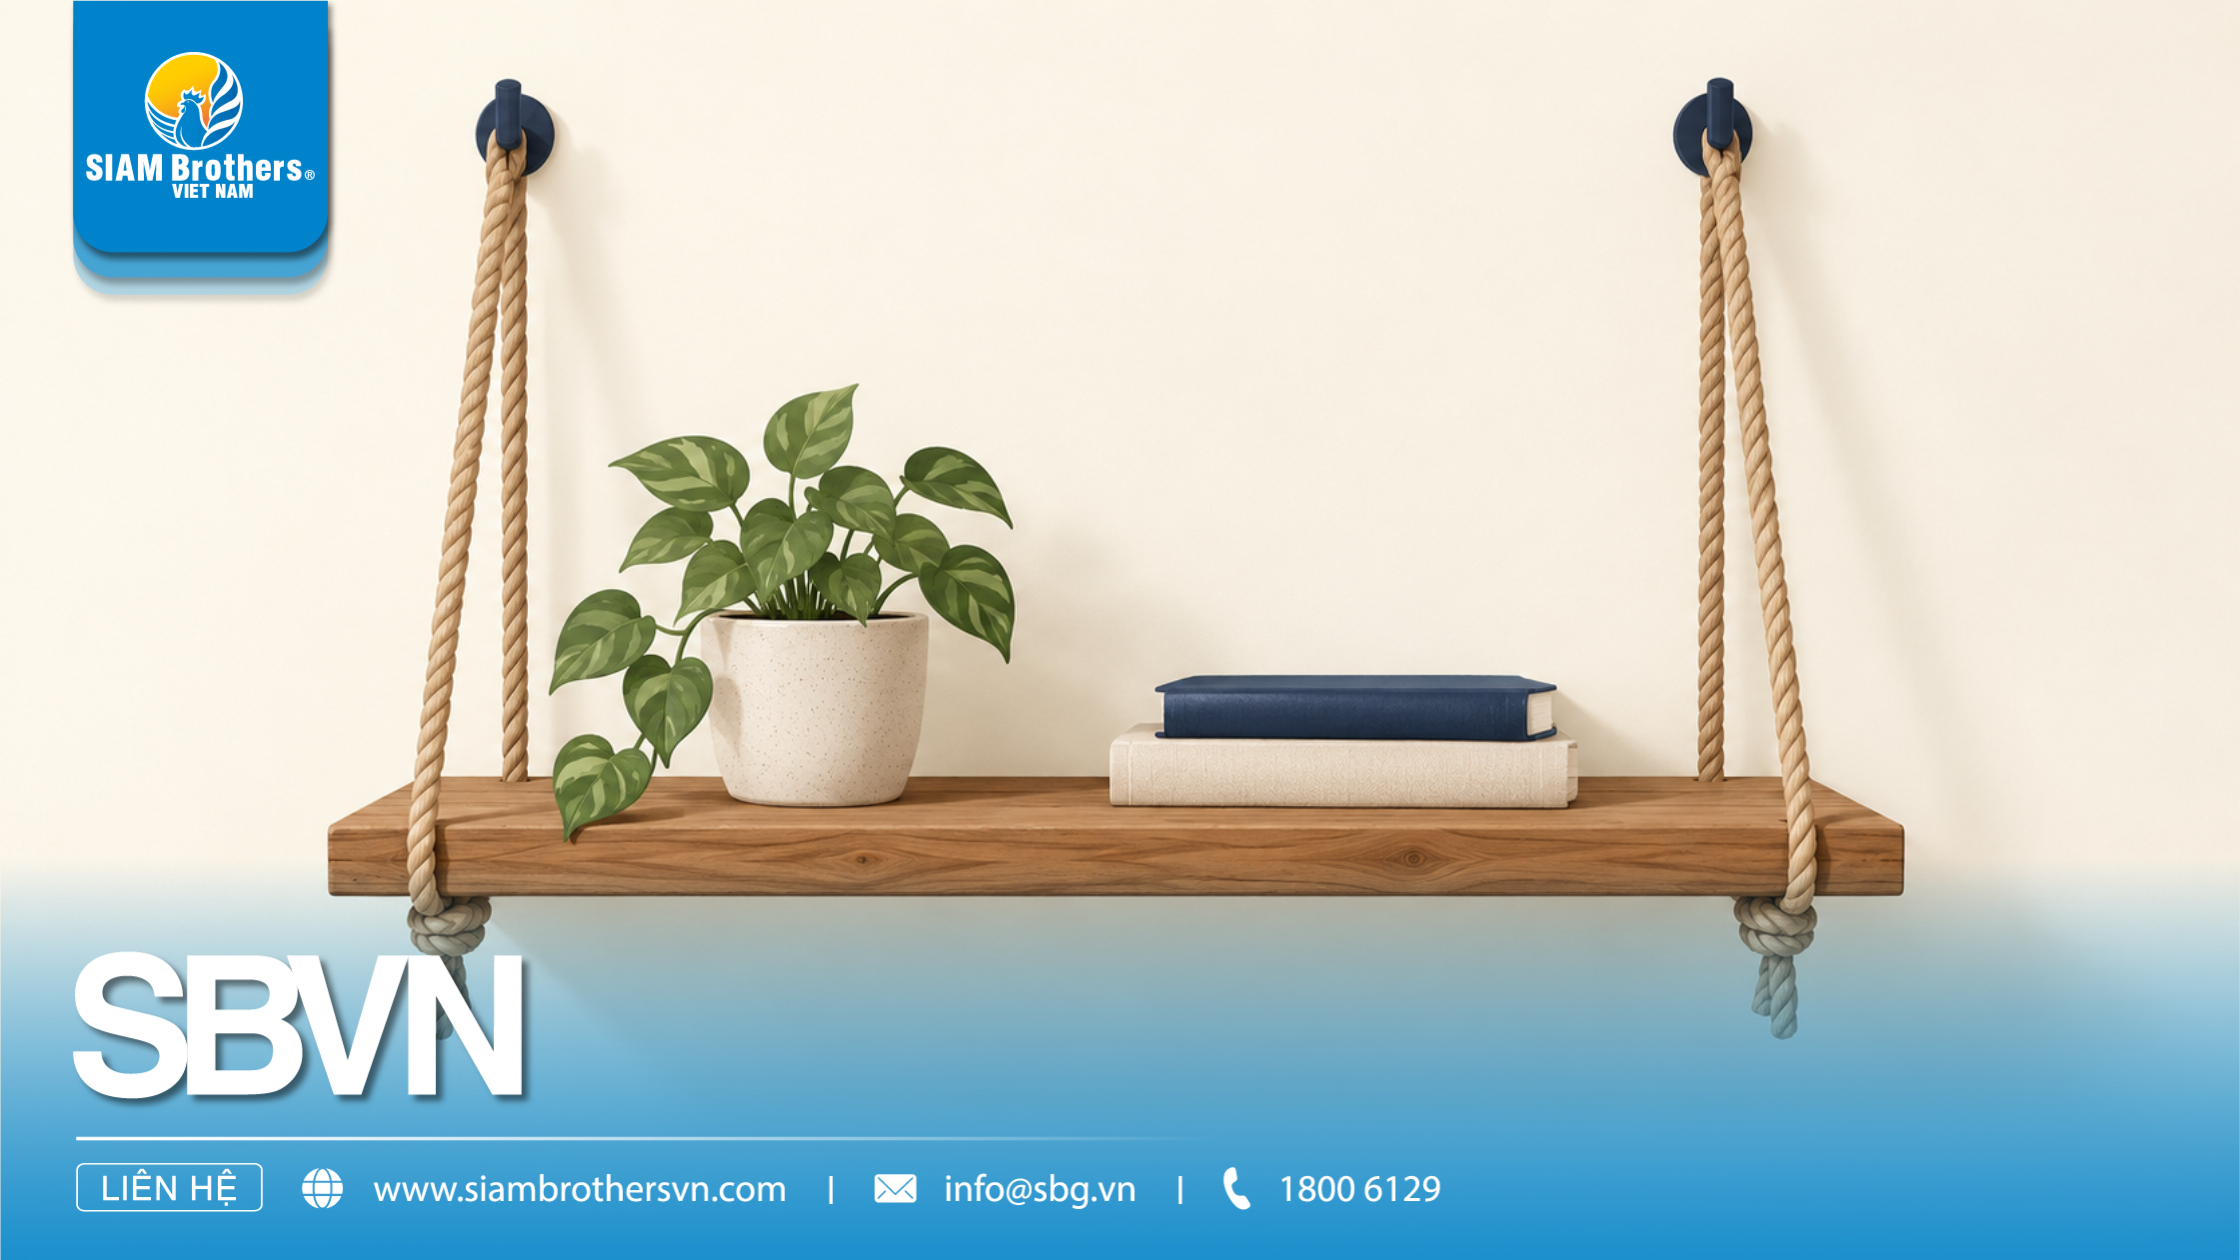
Wooden hanging shelf made as a rope DIY project.
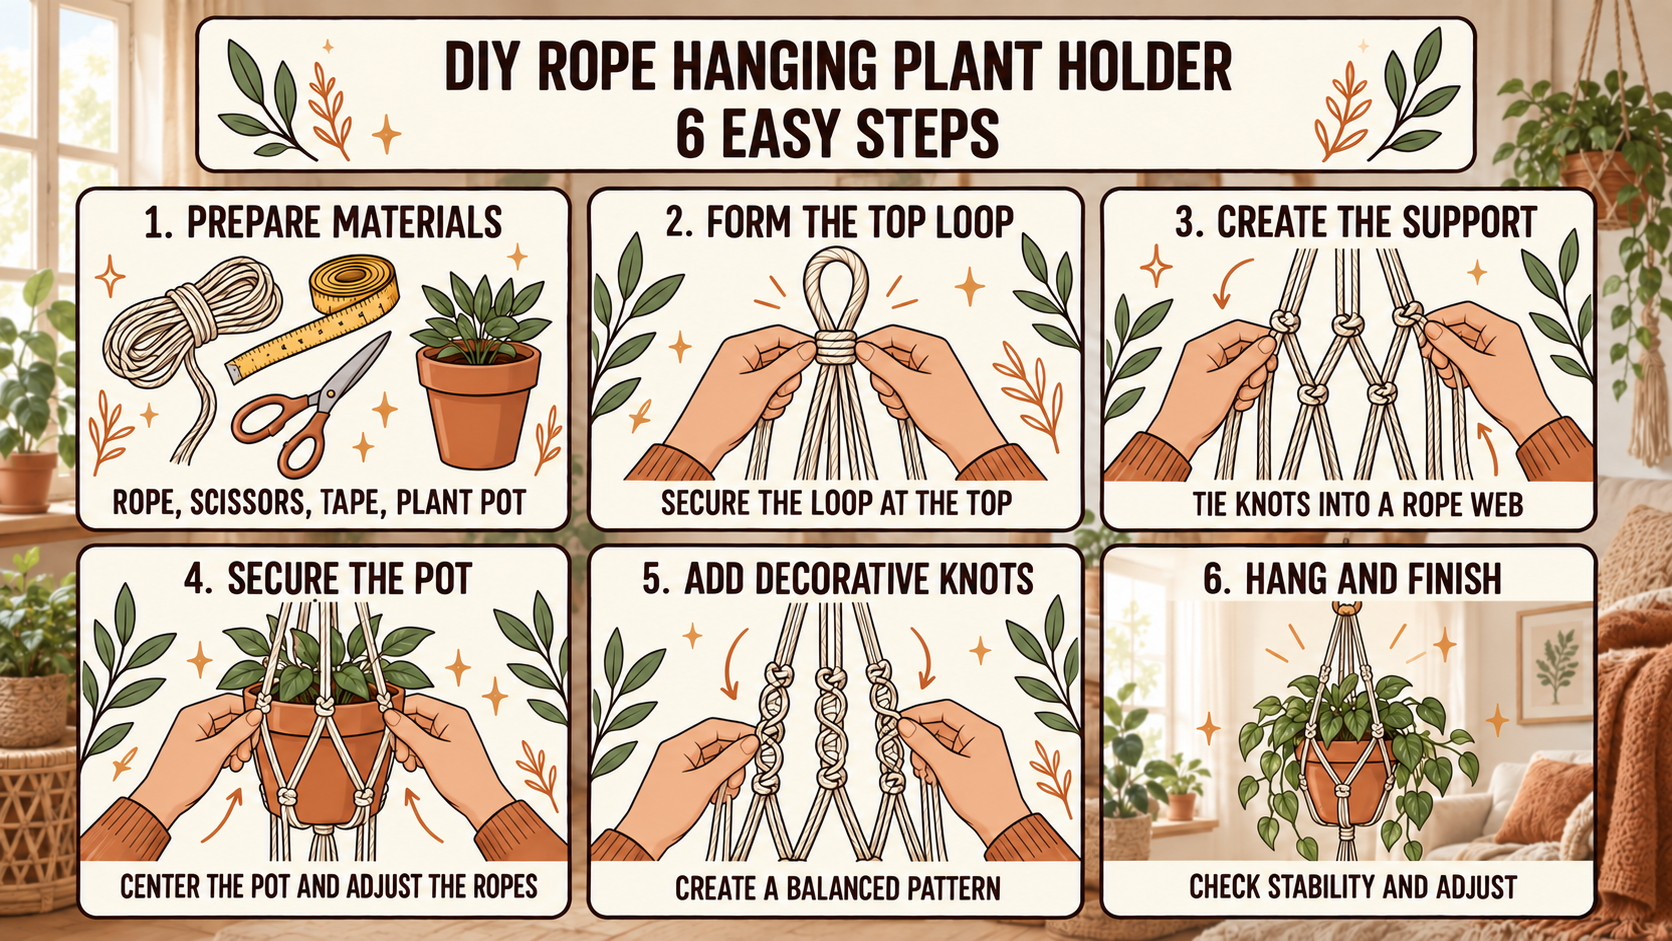
6 Steps to Make a DIY Rope Plant Hanger
A rope plant hanger makes use of vertical space while adding greenery near a window, balcony or indoor corner. A common design uses several equal lengths of rope to create a supportive net around the plant pot.
Tie all the rope strands together at the base before separating them into pairs. Create knots at equal distances along each pair. Next, join adjacent strands from different pairs to form a net around the pot. Gather the upper ends and form a secure hanging loop.
Always calculate the combined weight of the pot, soil, plant and water after watering. The rope must be free from severe wear, and the knots must not slip under load.
The mounting point must also be suitable for the total weight. Avoid hanging the planter above a bed, chair, walkway or electrical equipment unless the complete system has been properly checked.
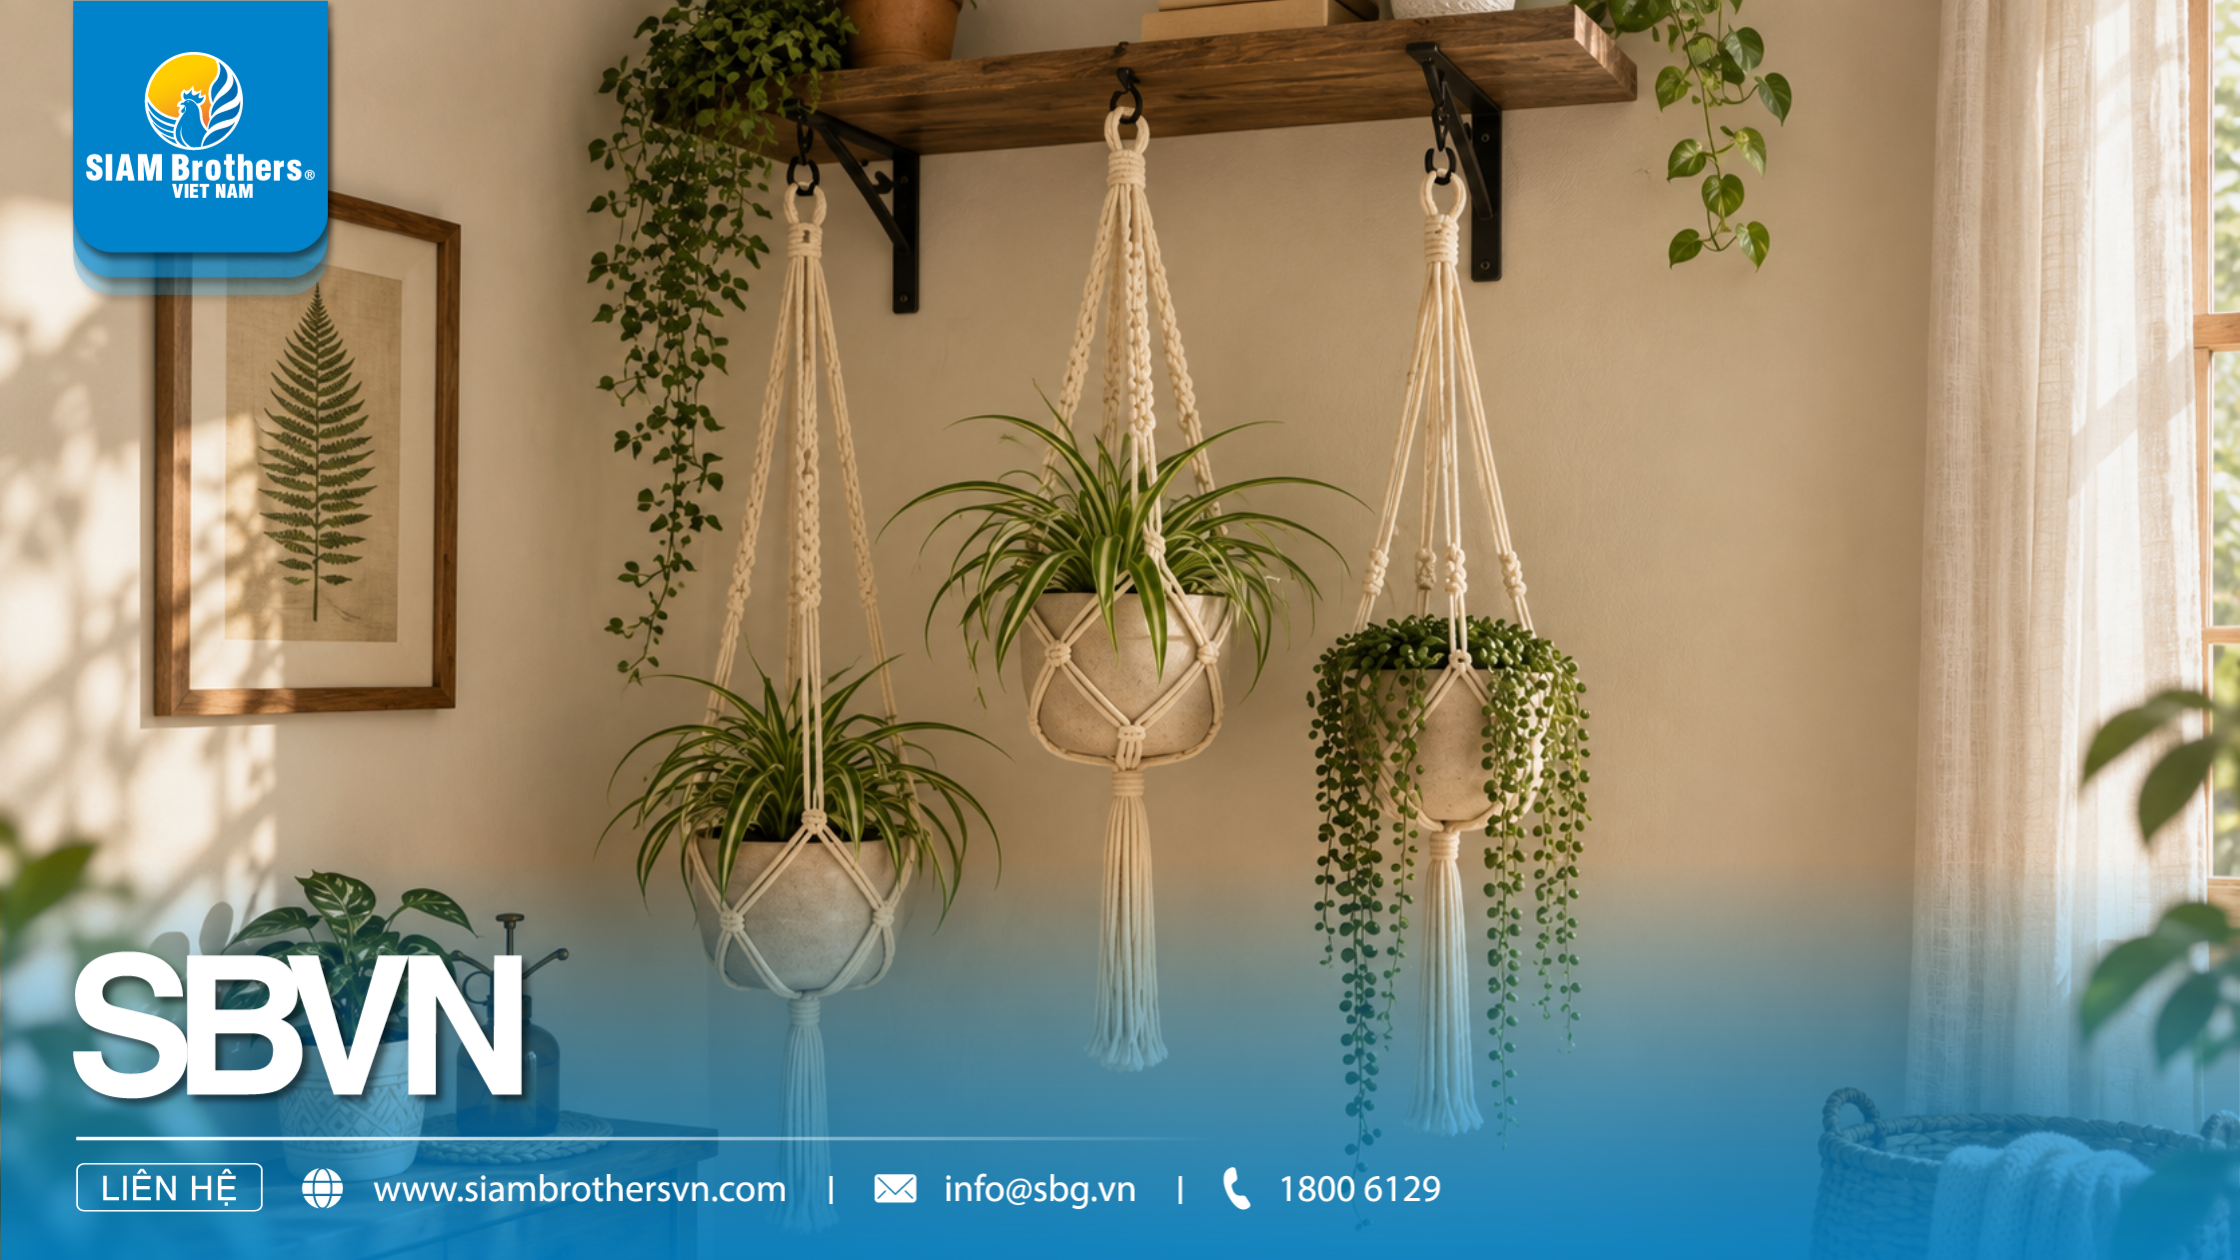
Hanging planter created as a rope DIY project.
A rope-wrapped mirror is an easy decorative project for a bathroom, hallway or feature wall. Several rows of rope can be arranged around the mirror to create depth and introduce a natural or nautical feel.
Place the mirror on a suitable backing board and mark the area where the rope will be attached. Begin close to the mirror’s edge, securing the rope in short sections as you work outward. Position each row close to the previous one to minimise visible gaps.
The decorative rope should not be expected to support the entire weight of the mirror. Use a dedicated frame, hook or mounting system to secure the mirror to the wall.
Before hanging it, inspect the backing, adhesive and mounting hardware. The wall fixing, rather than the decorative rope, should carry the mirror’s weight.
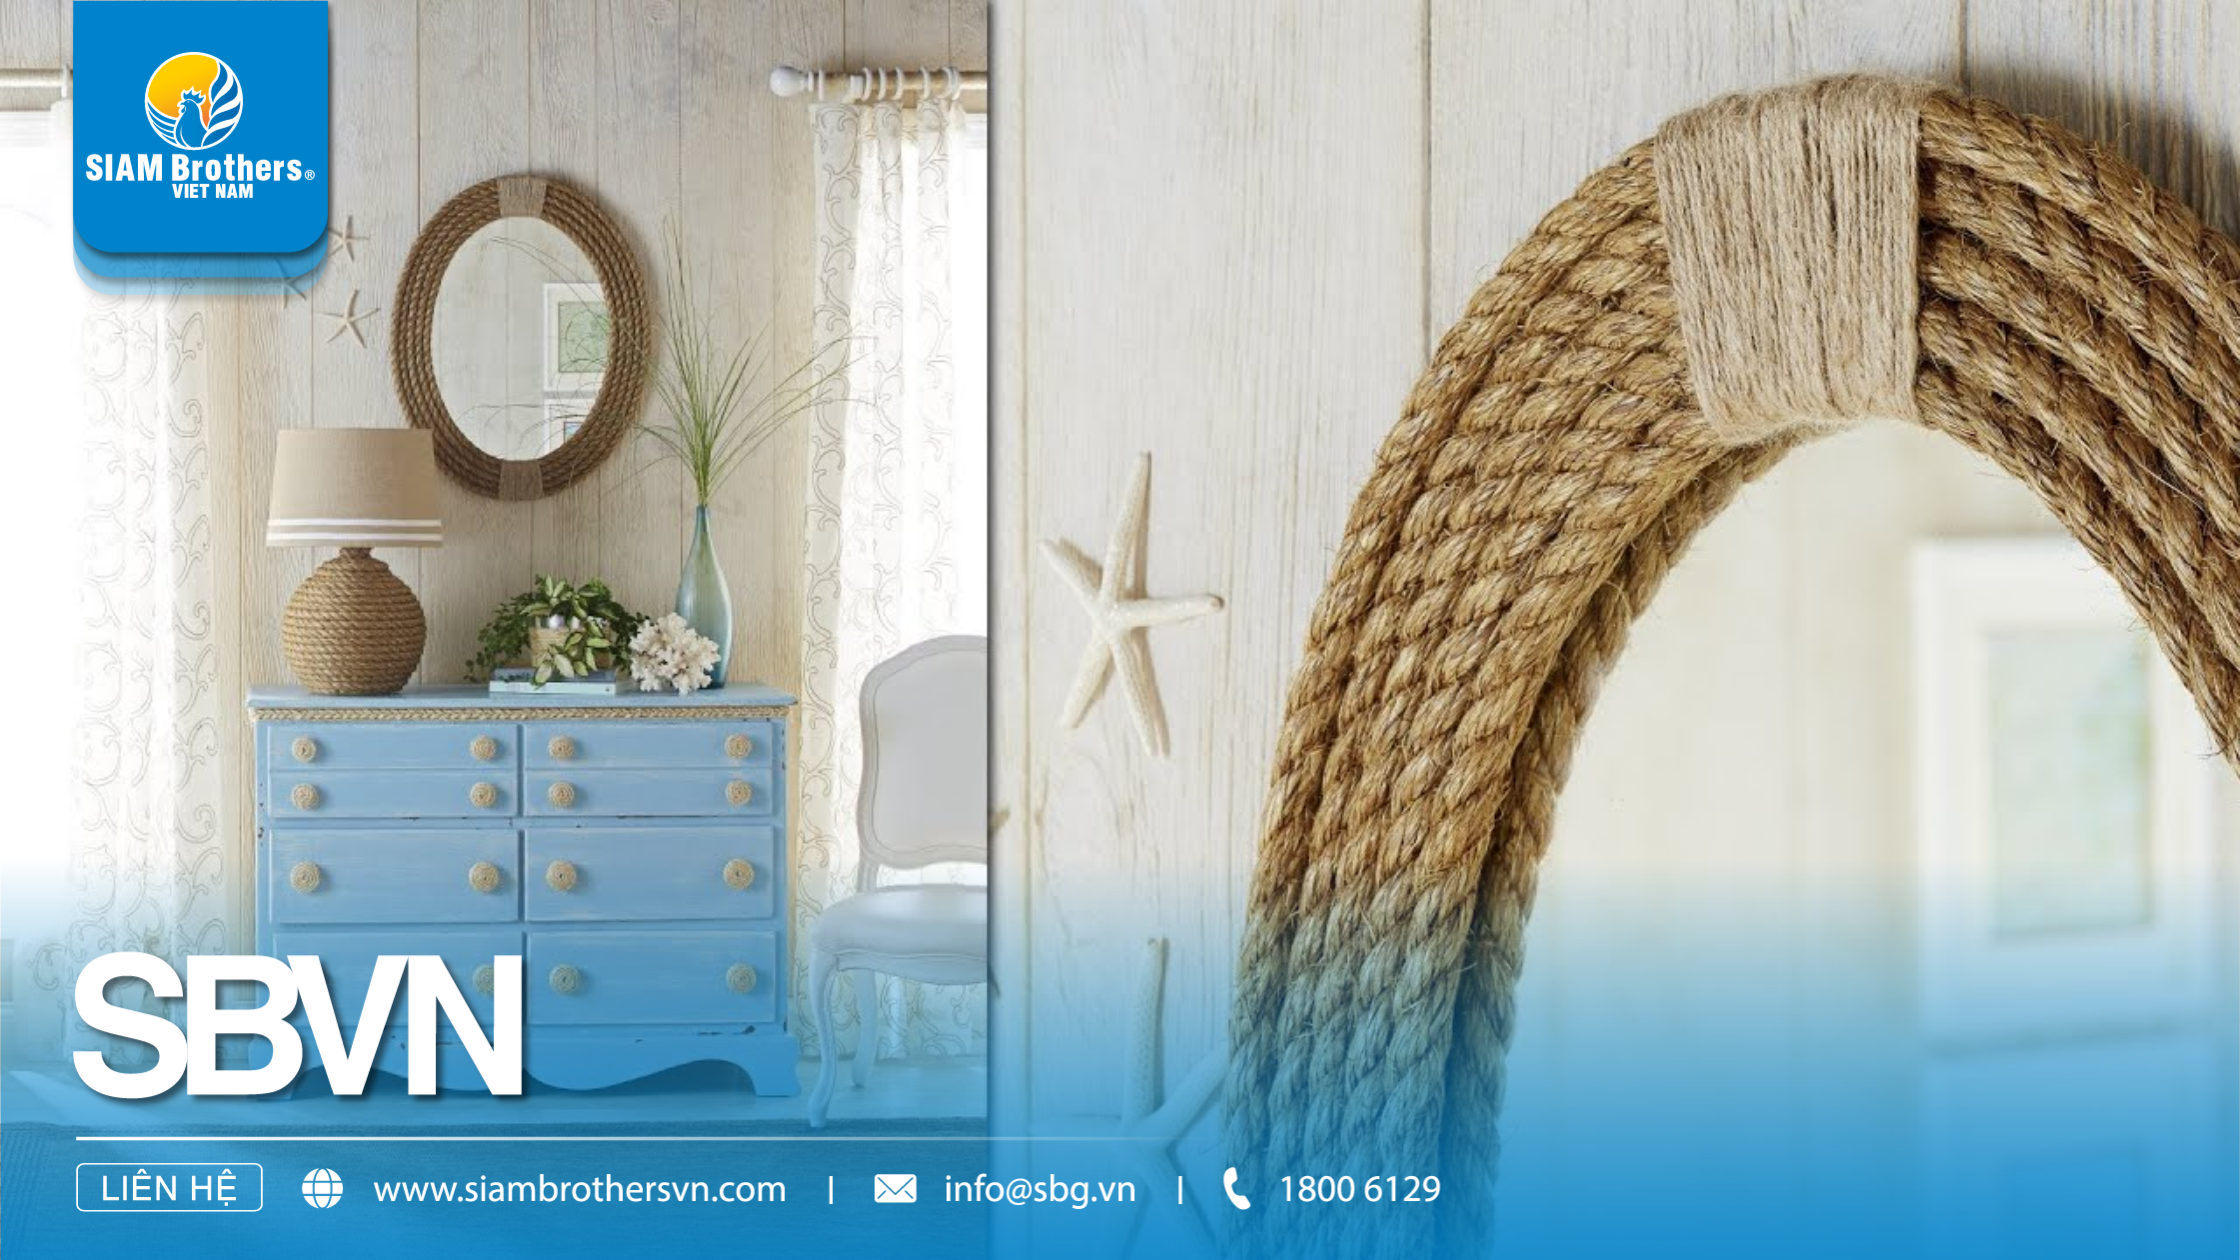
Decorative mirror frame made with rope.
A rope coaster or trivet uses a coiling method similar to the storage basket but remains flat. Start at the centre and wind the rope into a circle, securing each row to prevent it from unravelling.
Small pieces can be used as coasters, while larger versions can serve as decorative mats beneath vases, plant pots or table accessories. The natural rope colour can be retained, or coloured thread can be added to create patterns.
If the item will be placed beneath hot cookware, choose a suitable natural-fibre rope and confirm that the adhesive or stitching method can tolerate heat. Plastic-based ropes such as polypropylene and nylon should not come into direct contact with hot cookware because they may soften, deform or melt.
When the heat resistance of the materials is unknown, use the finished item only as a decorative table mat.

Round rope coaster made as a simple DIY project.
Inspect handmade rope items regularly, particularly shelves and hanging planters. Stop using the item if the rope becomes frayed, stretched, mouldy or discoloured or if the knots begin to slip.
Items assembled with adhesive should generally be kept away from high temperatures and prolonged contact with water. Clean them according to the rope material instead of soaking or machine-washing them without knowing how the fibres and adhesive will react.
It is also important to distinguish decorative crafts from safety equipment. These rope DIY projects must not be used for rescue, lifting people, fall protection or other safety-critical applications.
Rope DIY projects provide many creative possibilities, from storage baskets and mirrors to shelves, plant hangers and table accessories. Each item can be adjusted in size, colour and finish to suit the intended room.
Appearance should not be the only consideration. Choose rope according to its purpose, inspect every mounting point and do not use decorative materials beyond their intended capacity. SIAM Brothers Vietnam recommends identifying the application and expected load before selecting rope for any project.
Source: SIAM Brothers Vietnam
FAQ - Frequently Asked Questions
Q: Which rope is suitable for decorative DIY projects?
A: Depending on the project, cotton rope, jute rope or another soft decorative rope may be suitable. For load-bearing items, the rope’s structure, diameter and strength must also be considered.
Q: Can hot glue be used for every rope project?
A: No. Hot glue may be suitable for lightweight decorative items, but it should not be the only connection used for shelves, hanging planters or other load-bearing objects.
Q: Can plastic rope be used to make a hot-pot trivet?
A: Plastic-based rope should not be used on surfaces that come into direct contact with heat. A trivet requires materials and joining methods with suitable heat resistance.
Contact us:
Address: 5th floor, VRG Building, 177 Hai Ba Trung Street, Vo Thi Sau Ward, Ho Chi Minh City, Vietnam
Tel: (+84) 28 38 912 889
Hotline: 1800 6129
Facebook: www.facebook.com/siambrothersvn
Email: info@sbg.vn
YouTube: youtube.com/@siambrothersvietnam1728
OA Zalo: zalo.me/1402339229697925373
App SBVN ID:
CHPlay: https://bit.ly/SBVNID-Android
Appstore: https://bit.ly/SBVNID-iOS








Specializing in Agricultural and Fisheries Products & Multipurpose Wire